You’ll notice that your mouse cursor has changed to a crosshair of sorts. Simply click and drag the snipping tool over the area you’d like to capture. That said, you can still easily save, edit, and draw on screenshots using this great little tool. If you want to save the image, simply paste the image into paint and select ‘Save As’. Whilst there are easier ways to save a screenshot in Windows 11, you can paste the image into Paint and save it for future use. The screenshot is immediately saved to your clipboard with its own link, ready to share in email, Google Docs, Slack, Asana and more.
- Leave a comment and let us know what is your favorite method of taking screenshots on PCs.
- We’ll walk you through the many ways you can capture an image of your desktop, from pressing a few keyboard buttons to employing screen casting software.
- They act as a new age artifact that can be used as a reference or even serve as proof to show others that you are really seeing what you are.
- Afterward, you can just hold the left mouse button and drag the mouse to select the portion of the screen you’d like to capture.
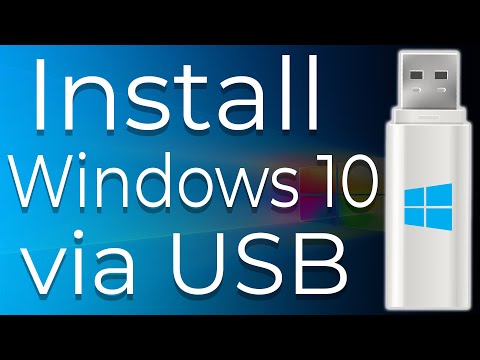
Unless you’re re-installing Windows on this computer, choose to create installation media for another PC. Windows 10 will install itself, and may restart a few times during this process. When it’s done, you’ll see the normal setup interface you see when setting up Windows 10 on any new PC, where you can add user accounts and adjust various settings. The tool you use will download the Windows 10 installation files and begin the installation process. Microsoft does not offer the Media Creation Tool on Linux, and they do not offer ISO downloads for home users.
Using the PrtSc (Print Screen) key
If you need to capture screenshots of something on your computer screen, Windows 11, 10, 8 and 7 offers a variety of methods for doing just that. ScreenRec is a new type of productivity tool that helps you save time and communicate faster with instant private video messages and screenshots. ScreenRec automatically saves screenshots to your personal account . To view screenshots you’ve taken previously, just press the Recording History button. Hover over a screenshot and you can grab the sharing link again.
In macOS Mojave or later devices, you can adjust the default location of saved screenshots by going to the Options menu in the Screenshots app. To save your screenshot, you will have to open it in an image editor and then save the file. This method captures your current active window and copies the screenshot to your clipboard. If you want to take a quick screenshot of your active window, use the keyboard shortcut Alt + PrtSc. The Snip & Sketch feature is easier to access and share screenshots here than the previous Snipping tool. It even allows you to capture a screenshot of a window on your desktop.
Prior to its official announcement on the Mojang blog, various promotional videos of Minecraft running universally on the HoloLens were shown by Microsoft. There is nothing major change in the start menu. One minor substance they have changed in the left-side icons menu will now immediately extend the menu automatically. Now it will display the names along with the icons.
Blast away temporary files
The extension will now automatically capture a scrolling screenshot of the entire page and offer you a number of saving and sharing options. You can also resize, crop, and annotate your screenshot with geometric patterns, arrows, and text using the built-in editor. Once you are done with the edits, click on “Done” at the top-right corner to see the saving options. Once you take a screenshot, it will immediately be copied to the clipboard. You can now paste it Download intel Drivers Driver Download & Updates … into an image editor and save it in any format at a location of your choice. You also have the option to directly edit and annotate the screenshot within the Snip and Sketch app.
CloudApp is a free screenshot tool with a ton of features you won’t find in many other free software programs. But if you want to navigate to other pages or open new programs before snipping a screenshot, you can select the 3 or 10-second timers. Your screen will appear greyed out and your cursor will change to what looks like an enlarged plus sign. From here, you can click the left mouse button and drag anywhere on your screen to capture that specific part of it.